


Risk of Rain 2 is rogue-like, and it is almost sure that no two runs you have will be the same or even similar.
So, we must know what kinds of items exist, how they work, how they help, and everything else you need to ensure that when that difficulty ramps up to insane levels, you are covered from all angles and have the most efficient kit possible.
Keeping that in mind, here are the best items in Risk of Rain 2, ranked according to their activation, viability, duration, and synergy.
We aim to focus on all of these items equally, giving you their strengths, weaknesses, and use case scenarios. So, sit back, relax, and grab a cuppa, this is going to be a long one.
But first, let’s go through the basics of what items do, how rare they are to find, and what types they are.
Risk of Rain 2 Essential Item: Get All Items In Less Than 100 Hours
Items in Risk of Rain 2 are essentially RNG power-ups that are scattered throughout your runs and help you with multiple different things such as passive buffs to your abilities, stats, and weapons.
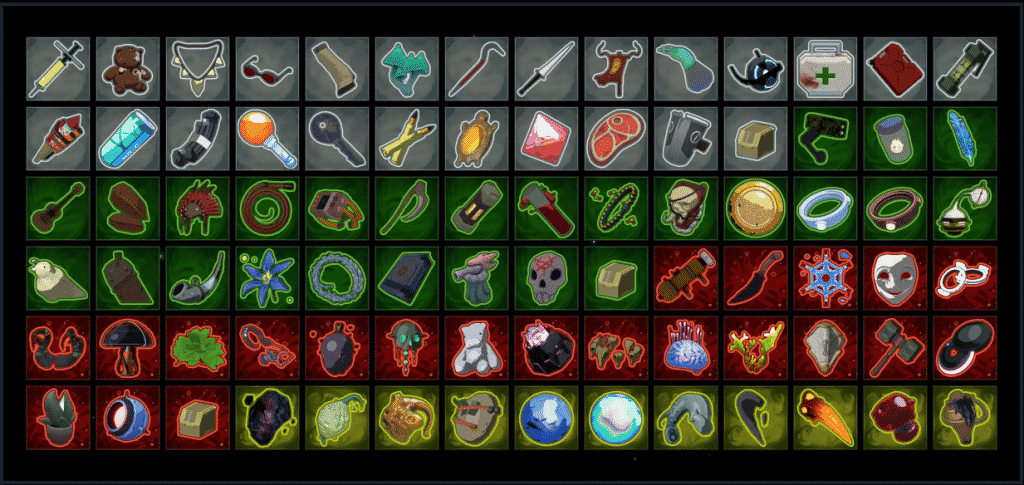
There are currently four different tiers of items in the game, ranked according to their rarity of drop in the game world: White or common, Green, or uncommon, Red or legendary, and Yellow or boss items.
Apart from these, Blue items are lunar and are in a separate list of their own.
With all of that said, let’s dive right into the meat and potatoes of this guide.
Common Risk of Rain 2 Items
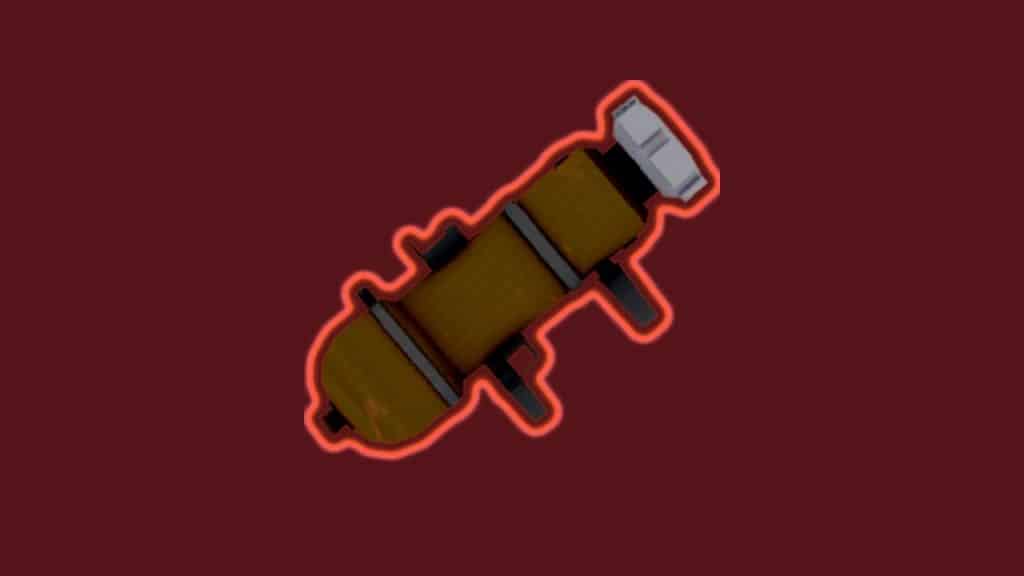
1. Armor-Piercing Rounds
Armor-Piercing Rounds are a powerful item that can significantly increase your damage against armored enemies. This guide will walk you through the process of obtaining Armor-Piercing Rounds and maximizing their benefits:
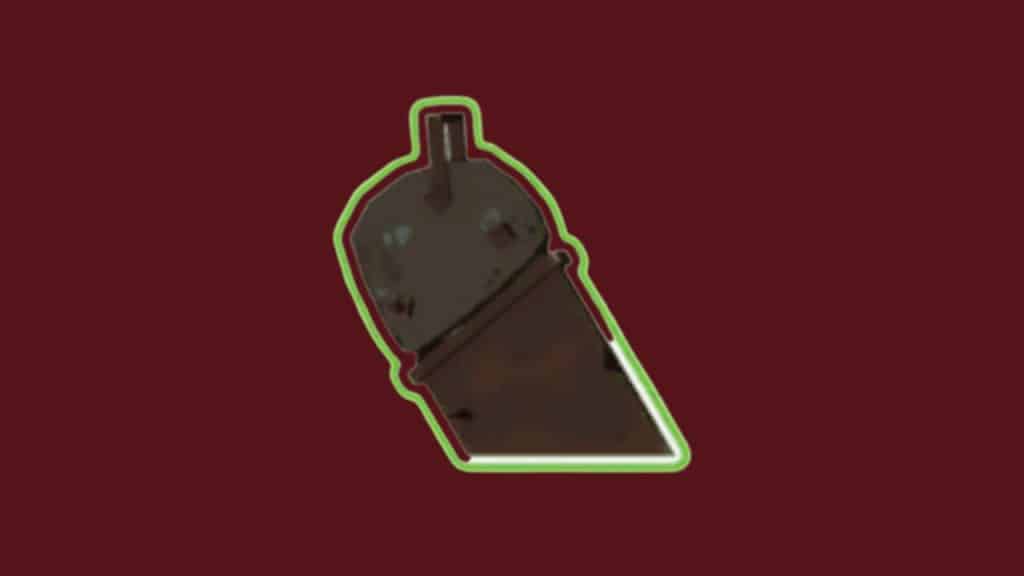
- Discover Equipment Barrels: Armor-Piercing Rounds can be found inside Equipment Barrels scattered throughout the game’s stages. These barrels are distinct and can be easily recognized by their bright orange color. Watch for them as you explore the different environments in Risk of Rain 2.
- Activate and Open Equipment Barrels: When encountering an Equipment Barrel, you must activate it before opening it. Approach the barrel and press the interact button to activate it. This will initiate a charging sequence, and you’ll need to defend the barrel from enemies until it is fully charged. Protect the barrel by eliminating any enemies that approach it during this time.
- Collect Armor-Piercing Rounds: Once the charging sequence is complete, the Equipment Barrel will open, revealing its contents. If you’re lucky, you’ll find Armor-Piercing Rounds waiting for you inside. Simply approach the open barrel and collect the item.
- Upgrade and Stack: Armor-Piercing Rounds can be further enhanced by stacking multiple instances of the item. Each stack will increase your damage against armored enemies, allowing you to defeat them more easily. Keep an eye out for additional Equipment Barrels throughout your run to increase your chances of finding more Armor-Piercing Rounds.
- Utilize Synergies: Combine Armor-Piercing Rounds with other items that amplify your damage output to maximize effectiveness. Items like Crowbars, Soldier’s Syringes, or Sticky Bombs can significantly enhance your ability to take down armored enemies efficiently. Experiment with different loadouts and item combinations to discover powerful synergies.
- Prioritize Armored Enemies: Remember their armor status as you encounter enemies in Risk of Rain 2. Armored enemies are denoted by a yellow health bar instead of a green one. Utilize your Armor-Piercing Rounds to focus your firepower on these enemies, as they will most be affected by the increased damage.
- Coordinate with Teammates: If you’re playing multiplayer, could you talk with your teammates and share information about the location of Equipment Barrels? Coordinating your efforts can help increase the chances of unlocking Armor-Piercing Rounds for everyone in the team.
AP rounds have received an indirect buff since the 1.0 patch and are extremely useful for their primary function, which is a 20% buff to boss damage, and 20% stacking once you stack up on the said item.
This becomes useful at teleporter fights, allowing you to focus on multiple things at the same time. Make sure you stack up on these before the final boss fight.
2. Backup Magazine
Since every Survivor has excellent damage and sometimes high range Secondary, having an extra charge of this ability helps you with your ability economy and makes the more incredible difficulty runs much more straightforward.
In Risk of Rain 2, the Backup Magazine is an essential item that can significantly enhance your gameplay by increasing your magazine size. This guide will walk you through the process of obtaining the Backup Magazine and maximizing its benefits:
- Find Lunar Pods: The Backup Magazine is a Lunar item, which means it can be acquired by visiting Lunar Pods. Lunar Pods can be found in the Bazaar Between Time, which appears after activating a Celestial Portal. These portals can be found randomly on certain stages, so watch them during your runs.
- Trade Lunar Coins: Once you have located the Bazaar Between Time, you will need to exchange Lunar Coins for items. Lunar Coins can be obtained by finding Lunar Coins scattered throughout different stages or by defeating Lunar Explorers. Each Lunar Pod will contain a random item, so you may need to try several times before obtaining the Backup Magazine.
- Choose the Backup Magazine: When encountering a Lunar Pod, interact with it and select the Backup Magazine if available. Be aware that the interaction with the Lunar Pod is time-limited, so try to quickly identify and select the Backup Magazine from the available options.
- Collect Additional Backup Magazines: If you’re fortunate enough to find multiple Lunar Pods and Backup Magazines, it’s highly recommended to stack them. Each Backup Magazine obtained will increase your magazine size by one, allowing you to unleash more firepower without needing to reload as frequently.
- Combine with Other Items: The Backup Magazine can synergize well with other items that boost your damage output or grant additional abilities. For example, pairing it with items that increase your attack speed or reduce cooldowns can maximize your damage potential.
- Experiment with Different Loadouts: As you progress and unlock more characters and items, take the time to experiment with different loadouts. Each survivor has unique abilities and playstyles, and certain combinations of items can create powerful synergies. Feel free to try different strategies to find the best loadout that suits your playstyle.
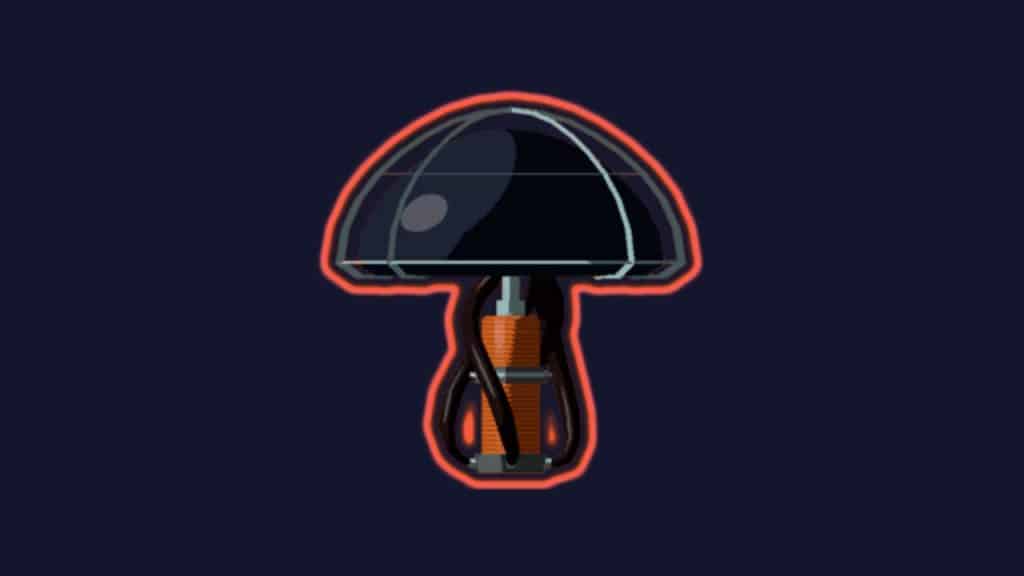
3. Medkit
As is the case for assorted items in the 1.0 patch, Medkit also received a significant boost to its usability and general viability.
Since you heal a flat amount on top of an incremental amount over time, the Medkit is now more consistent and is much better on specifically low mobility characters.
4. Soldier’s Syringe
Largely unchanged, the syringes will boost your attack mobility, but are overshadowed by other items that we will discuss later on.
However, having a handful of these in your loadout does not hurt at all, we would just refrain from having you use your resources to continually print these. Use them to buff your base attack speed, but anything after that is not viable.
5. Topaz Brooch
Having a barrier is especially useful past the initial stages of your run and having multiples of these items will certainly add some tackiness to your overall play.
Bear in mind though that past a certain point, you will require quite a lot more than a handful of these into your total pool to get any kind of usability out of them.
6. Lens Maker’s Glasses

To put it in simple terms, Lens Maker’s Glasses will buff your chances of hitting Critical Strikes, which double your damage.
And whoever says no to twice the damage? Make sure you have a handful of these to become a proprietary melter in the game and get more than a passive buff in the later game.
7. Paul’s Goat Hoof

Not only does each stack of this item get you a flat 14% movement speed buff at all times, but your momentum also sees a 45% boost, increasing your movement speed to a flat 20% or nearby.
Stacks of Goat Hoof are extremely useful to constantly remain on the move and deal damage at the same time.
8. Tougher Times

Tougher Times is great as a last resort, completely negating all damage with a 15% chance of activation.
The only caveat is that Tougher Times receives less of the full activation chance benefit, with stack reducing the additional chances. So be careful when printing these in bulk.
9. Tri-Tip Dagger
The best Uncommon item in the game when we look purely at damage, the Tri-Tip Dagger allows you a 15% chance to apply the bleed debuff to an enemy, hitting them for an additional 240% damage.
On top of that, this item stacks in a linear fashion, making it absolutely broken with the right character. Try to print multiple of these.
Uncommon Risk of Rain 2 Items
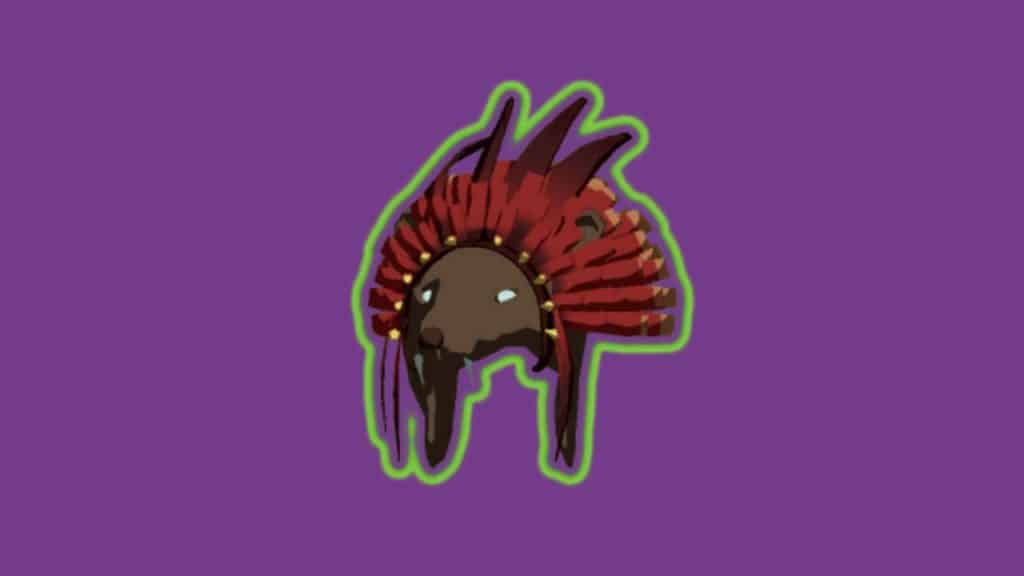
10. Death Mark

The 50% flat increase to your damage for a huge 7 seconds that Death Mark provides can help you instantly raze fields and decimate all types of enemies.
However, this is offset by the fact that activating Death Mark requires enemies to be hit by 4 debuffs. So, make sure you know the characters that can stack debuffs in order to use this to its fullest potential.
11. Ghor’s Tome

A 4% chance to get $25 in gold might not seem like much, but it scales over time, passively getting buffed to the point where you start to notice the effects.
Ghor’s Tome is a must-stack, as even with a single stack the effects of the Tome are significant if acquired early during the run.
12. Kjaro’s Band
Although lower on consistency than ice bands, bands like Kjaro’s which are part of the flame archetype saw an overall boost to their usability and find their way comfortably into the higher tier of items in the game.
Enemies might be required to stay inside the tornado at all times, but the 300% total damage and low cooldown makes Kjaro’s a must have.
13. Old Guillotine
Even though the Guillotine was nerfed numerically, it still remains a top pick for boss fights.
Completely obliterating an Elite below 13% health is nothing to scoff at, and thus Old Guillotine is a permanent fixture in any tier list. This also stacks, but each stack is less powerful, just like Tougher Times.
14. Wax Quail
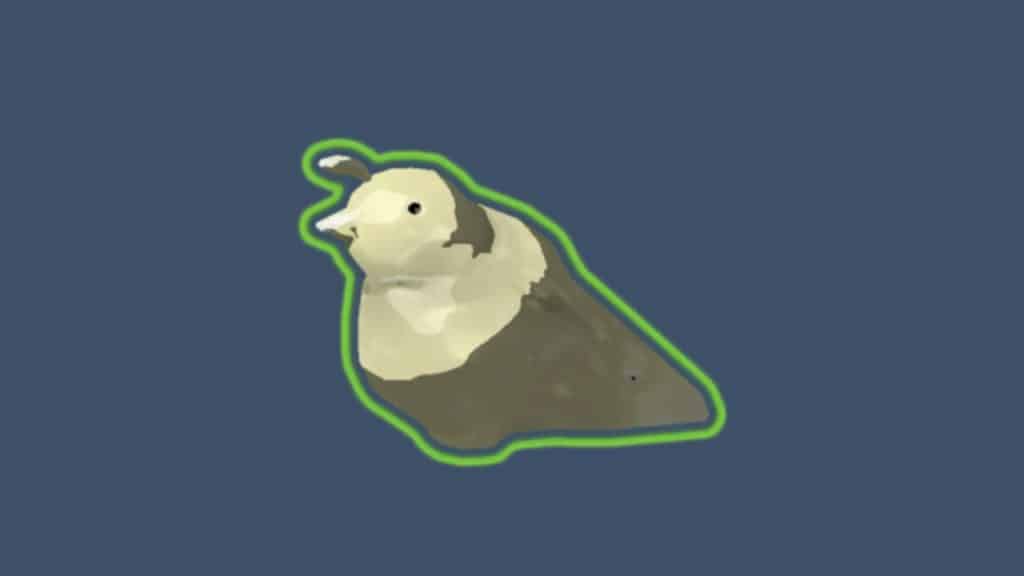
Wax Quail continues to be an essential since it directly buffs your movement speed, and movement is king in Risk of Rain 2.
On top of that, this item does not need an overload of stacks for you to see the benefits and stacking up more than 3 times is actually counter intuitive, so be careful.
15. AtG Missile Mk. 1
There is no surprise that the AtG makes our list.
A 10% chance to fire a 300% rocket is something we will happily take, but when the damage increases by 300% per stack instead of the chance, then we’re talking big boy damage numbers.
One of the best flat damage items in the game. More than worth investing in.
16. Fuel Cell
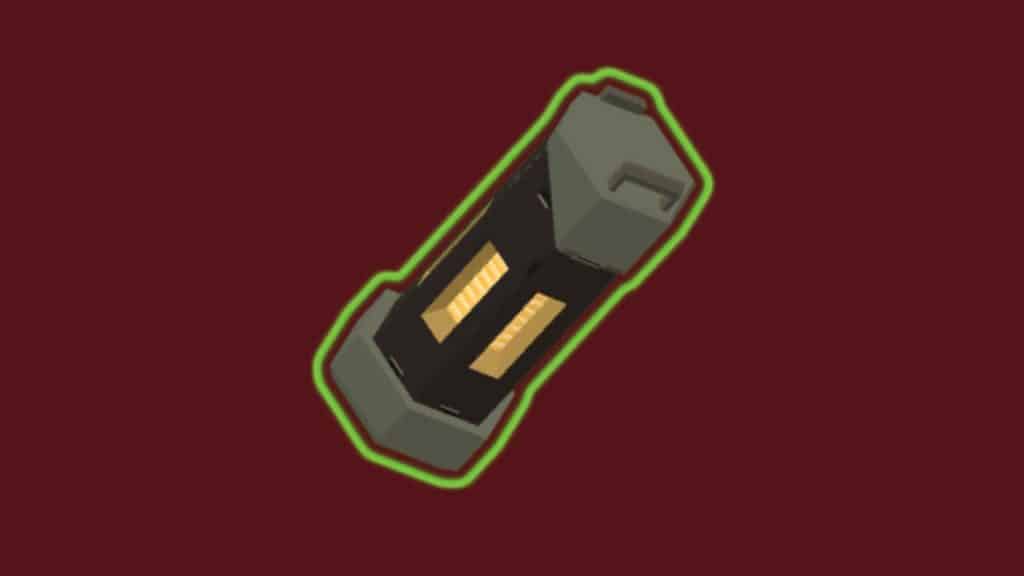
Not only does having a whole extra Equipment charge not hurt, but any item also that directly benefits all kinds of different equipment in the game (reducing your cooldown by 15%) is an easy high tier pick, since a lot of the cast of Survivors depend on either their Equipment or their full kit to dish out damage.
17. Harvester’s Scythe

Getting a critical chance bonus and a boost to health regeneration on proccing critical chance is a brilliant pairing.
Not much else to say.
18. Hopoo Feather

Having Hopoo Feathers allows you an additional jump for your character, making traversal a breeze. Will help your runs a lot if you pick one up.
Stacking five jumps is a rush, let me tell you.
19. Predatory Instincts
Another item that works well in tandem with other items, stacks of Predatory Instincts will directly buff your attack speed by up to 36%, which is a lot.
20. Runald’s Band
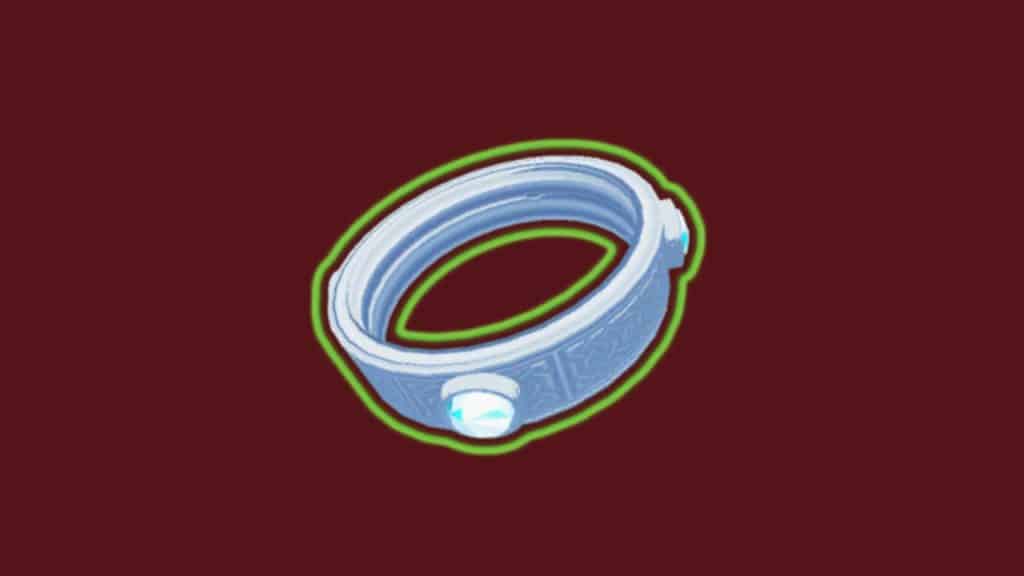
And this here is why the ice bands are much more consistent, although the band changes were across the board.
An 80% slow for 3 seconds, which stacks, and 200% extra damage which also stacks, makes these items a definite must have.
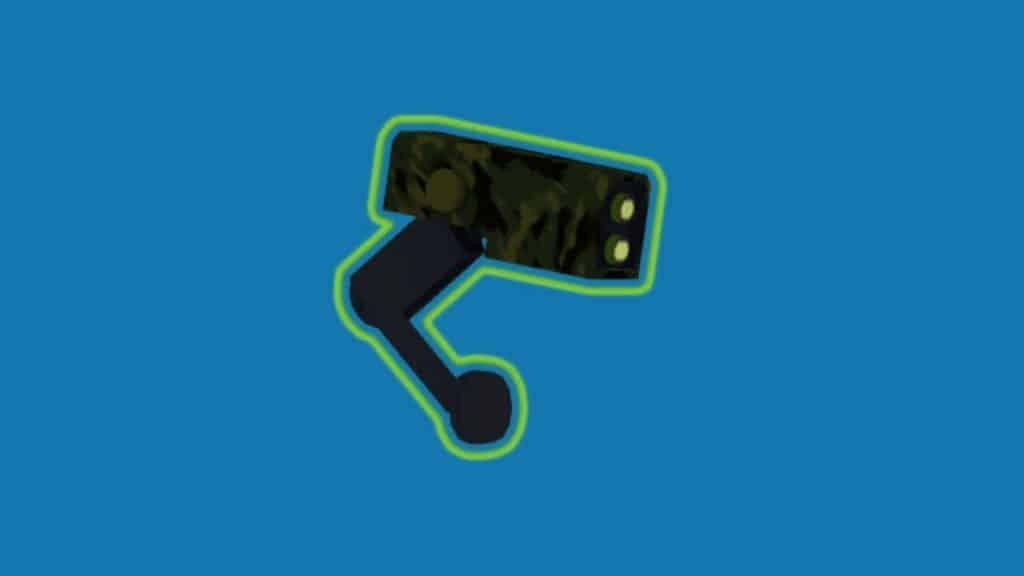
21. Ukulele

The monitor covering damage capabilities of the Ukulele cannot be overlooked, as with a 25% chance to bring down lightning for 80% of total damage on 3 targets (increased with stacks) within 20m (also increased with stacks) is just insane.
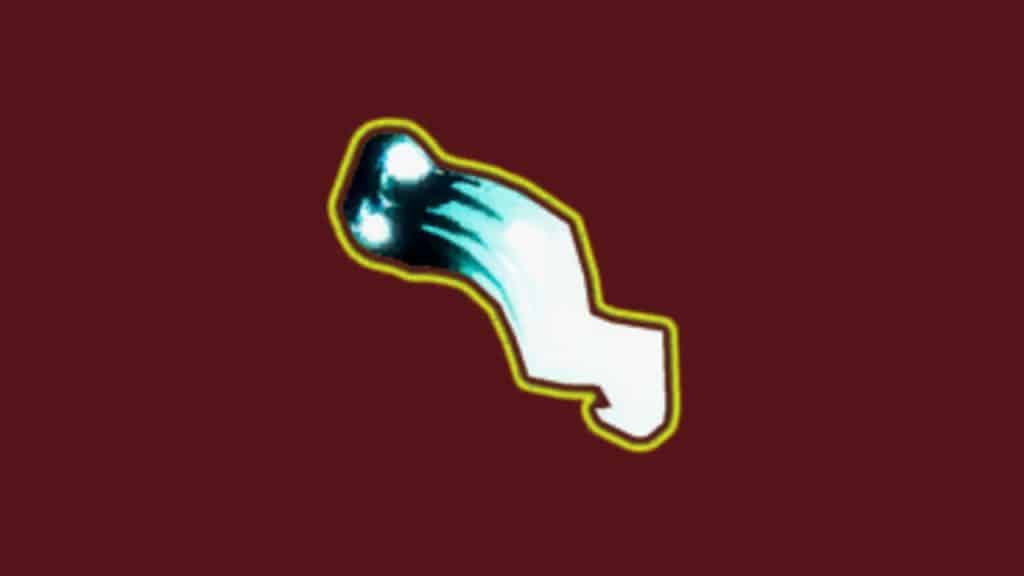
22. Will-o’-the-Wisp
Another great tractor beam-esque item just like the Ukulele, Will-o’-the-wisp have the primary objective of garnering proc chains, which works very well with their single damage potential.
On killing an enemy, a pillar of lava emerges, eating everything for 350% damage inside a 12m radius, which increases on stack.
Legendary ROR2 Items
23. Alien Head
Abilities are the bread and butter of some characters, and sometimes the only effective way they can deal damage.
Alien Head introduces an insane amount of speed to the same, allowing you a 25% reduction on skill cooldown which also increases per stack by the same amount.
24. Brainstalks

Since we talked about a reduction of the cooldown timer an item ago, why not talk about completely negating the restrictions that a cooldown timer comes with?
Another item that affects cooldowns, Brainstalks grant you a 4s timer wherein you can infinitely spam your abilities, for the low price of killing an Elite. Top tier.
25. Brilliant Behemoth
Allowing a 60% flat buff to all of your damage to nearby enemies in a 4m radius (with an additional 2.5m per stack), Brilliant Behemoth is excellent for crowd control and keeping your screen empty, allowing you to focus on the larger enemies instead of tiny little groups that can prove to get annoying over time.
26. Resonance Disc

This is a big one. The Disc, when activated, launches towards an enemy for 300% base damage (adding +300% per stack), piercing all enemies it does not manage to decimate, and then explodes for 1000% damage (adding +1000% per stack) and then returns to you, granting more damage (300%, +300% per stack) as it returns. Broken.
27. Unstable Tesla Coil
The Tesla Coil is the be all and end all of all crowd control items, as it strikes lightning to 3 enemies for 200% damage every 0.5 seconds, offsetting itself by switching off every 10 seconds.
28. Hardlight Afterburner
A lot of the cast has absolute destructive capabilities with their Utility skills, and two free charges (+2 per stack) on top of a 33% cooldown buff to Utility abilities makes this a no-brainer in our list.
29. 57 Leaf Clover
Hands down the best ability in the game, the Clover is one of the only two items that affect your Luck stat. Clover makes all random effects of your items work one more time (+1 per stack).
So, if you don’t get that 10% chance to proc high damage, you can just reroll to try and get a favorable outcome. Especially useful during any run, borderline essential.
30. Ceremonial Daggers

Not much else other than the fact that getting homing daggers that deal an insane amount of damage, making them the best on-kill item in the game.
31. Sentient Meat Hook
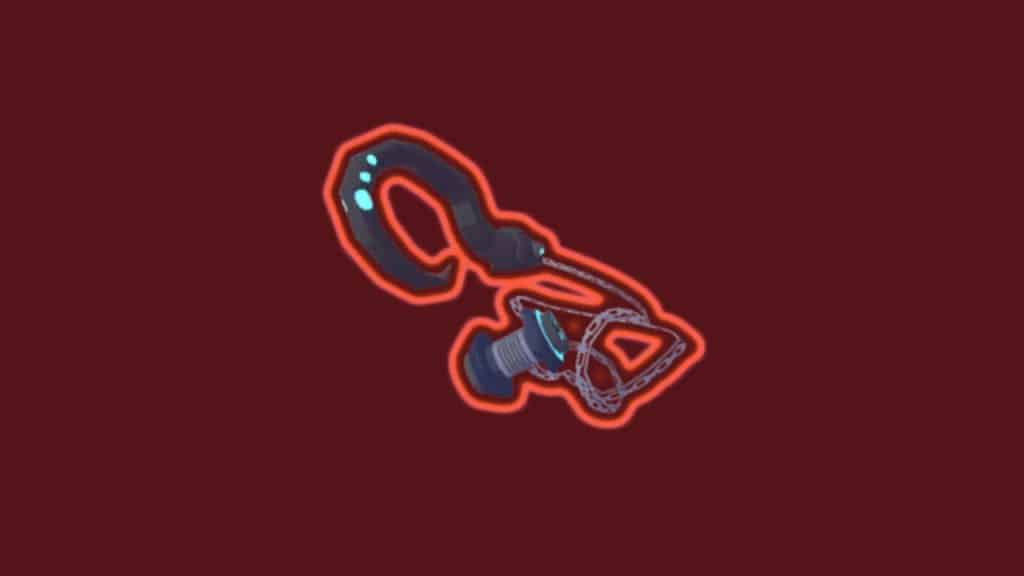
A much more powerful Legendary version of the Ukulele, the Sentient Meat Hook provides a 20% chance, with additional of 20% per stack, that you activate a series of target acquiring hooks that will deal 100% total damage to 10 enemies.
32. Shattering Justice

The only kinds of enemies that have armor in the game are bosses and Scavengers, which makes the armor reduction amount and duration of Shattering Justice a top-tier pick.
33. Soulbound Catalyst

Since you’re already using your equipment for high damage conversion, having a 4s reduction on their cooldown is a massive boost to your overall speed.
Boss Items Risk of Rain 2
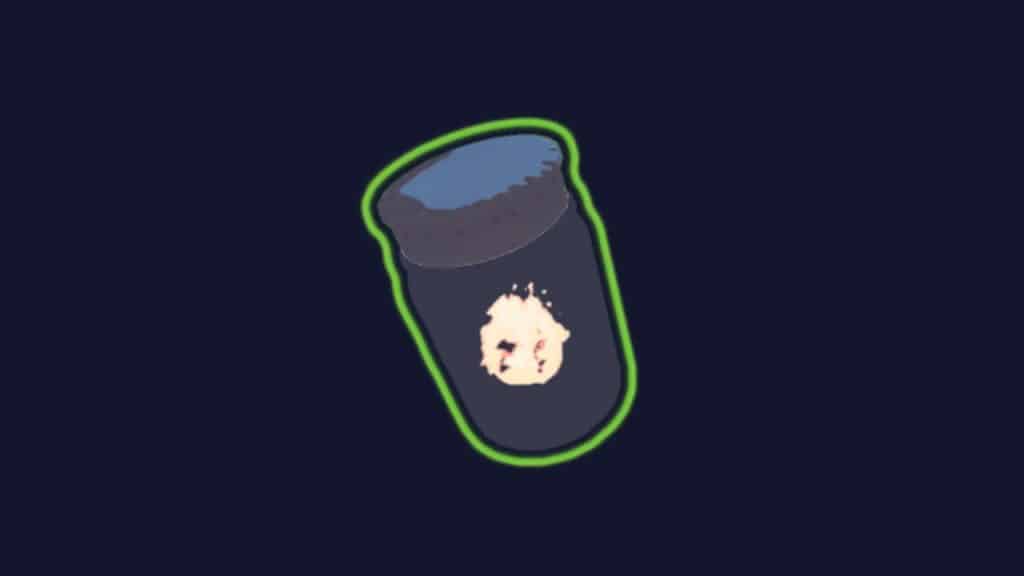
34. Mired Urn
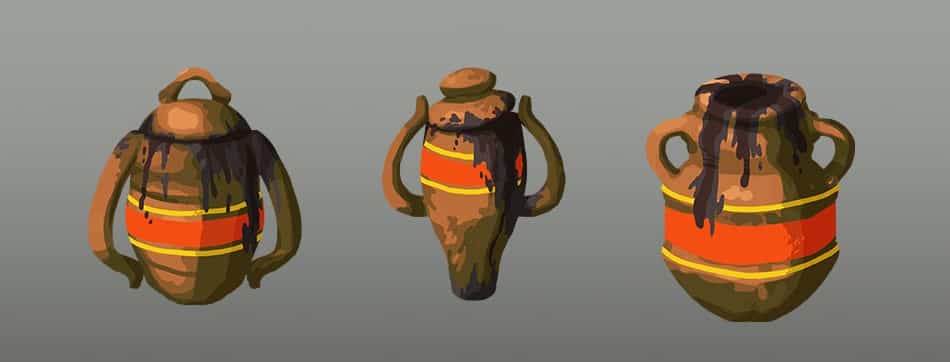
The Mired Urn works via an amazingly simple principle; the more damage you deal, the more you heal.
At higher difficulty levels, this is essential, as the mob near you gets tethered to you, and you start to deal 100% damage, applying the tar debuff, and healing yourself for 100%.
This becomes even more viable when you start dealing critical damage, which stacks the amount you will heal, and the item’s own stack determines how many enemies get tethered to you.
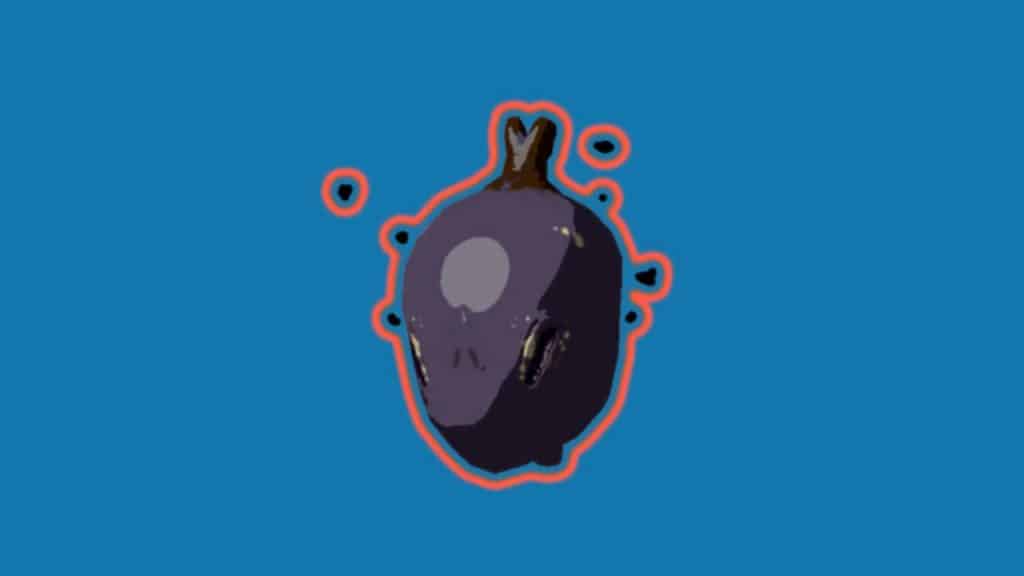
35. Irradiant Pearl

The Irradiant Pearl grants a flat 10% buff to all stats, regardless of nature, including a 10% bonus per stack of the item.
What keeps this from becoming the best item in Risk of Rain 2, however, is the fact that the drop rate is debilitatingly low, as low as 4% per run.
You might actually experience multiple hours of gameplay before you get one of these puppies to drop for you, and as your chances get lower, the stat bonuses provided start dropping in value due to the sheer rarity.
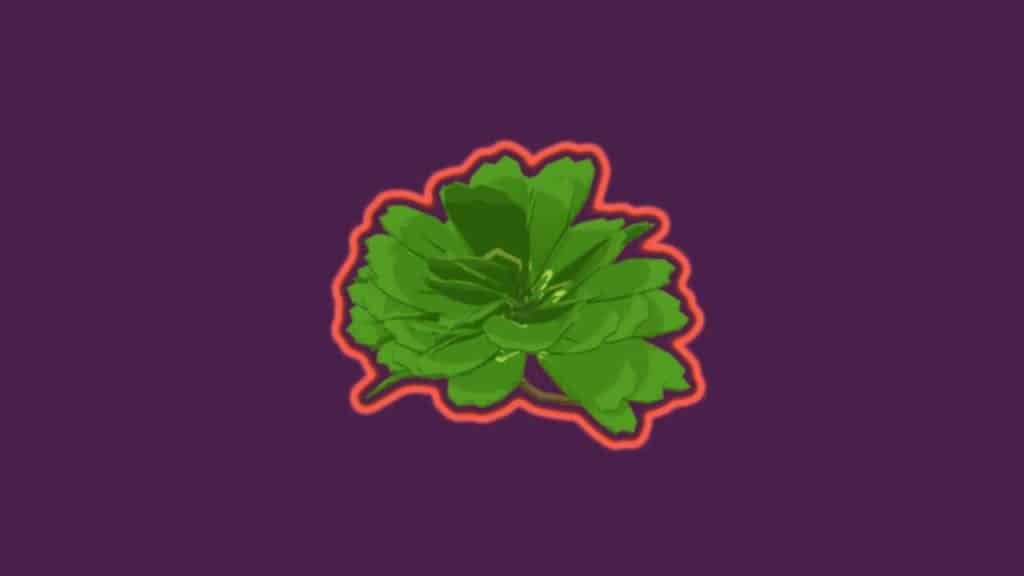
36. Planula

The Planula is a useful lunar item that may heal and assist your character in Risk of Rain 2. Follow the steps in this manual to receive the Planula and reap its full benefits:
- Locate Lunar Pod: The Planula is a Lunar item, thus you may get it by going to a Lunar Pod. When a Celestial Portal is activated, it opens to reveal a Bazaar Between Time where Lunar Pods can be purchased. Keep a look out for these portals throughout your runs since they appear at random on select levels.
- Gather Lunar Coins: In the Bazaar Between Time, Lunar Coins are the money used to buy goods. Lunar Coins may be found throughout the game through completing stages and fighting Lunar Explorers, a unique enemy. Look out for glistening blue orbs; they are the Lunar Coins.
- Reach Bazaar Between Time: After activating a Celestial Portal, you will be sent to the Bazaar Between Time. You may spend your Lunar Coins here on various lunar wares. Find the Lunar Pod, which will stand out as a pointed building with a glowing base.
- Approach the Lunar Pod and interact with it to access the “Interact and Choose Planula.” After that, you’ll be given a random assortment of lunar goods to select from. The Planula may be found by clicking through the menu selections. The window of opportunity to make your choices is short, so act quickly.
- You can buy the Planula by selecting from the various choices as it becomes available. To get the Planula, you must confirm your selection and pay the needed amount of Lunar Coins. You will now have the Planula available in your stash.
- The Planula should be used to its fullest potential for both its curative and practical effects. It gradually produces healing orbs that you and your allies may collect to recover health. It’s also useful since it makes you float slightly above the ground, protecting you from falls and making you less susceptible to slowing effects.
- Planula’s healing orbs should be discussed with your teammates if you play a multiplayer game. Schedule their pickup to maximize the team’s total chance of healing. In the long run, this will ensure the team’s health and improve their chances of survival.
Consider pairing the Planula with additional healing items, like the Medkit or the Rejuvenation Rack, to further increase your healing capacity. Combining these goods can greatly improve your chances of survival in dangerous situations.
Remember that the likelihood of finding Lunar Pods and the Planula varies from run to run. The only way to attain the Planula is to keep pushing forward and challenge yourself via exploration and perseverance. With any luck, you’ll be able to get the Planula and start reaping its beneficial effects in no time.
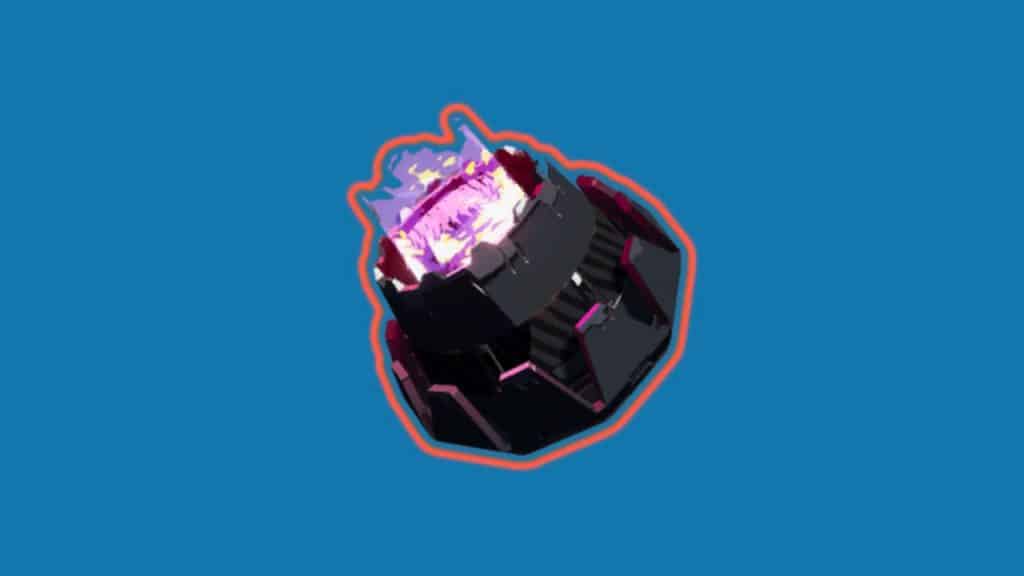
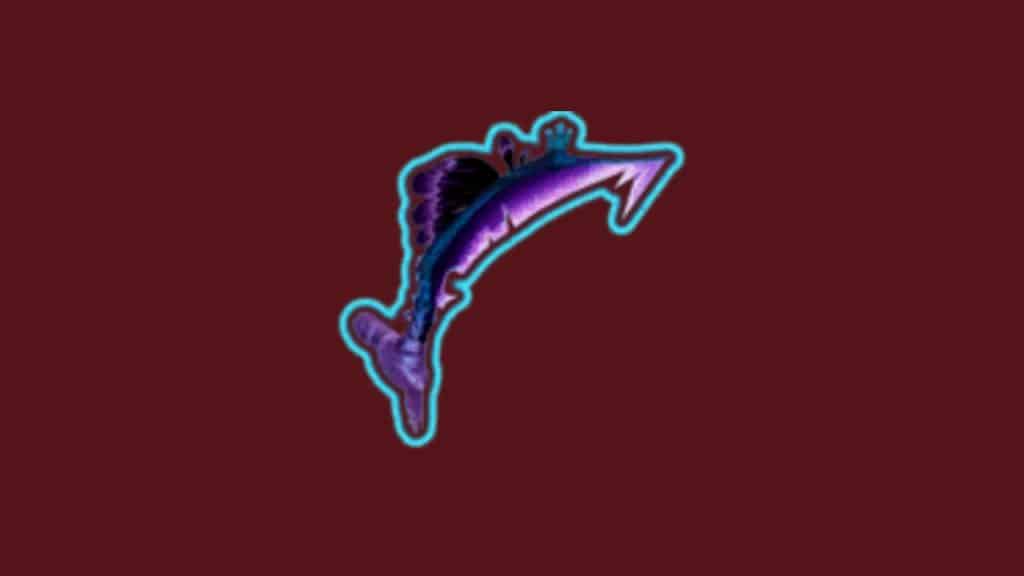
37. Shatterspleen

Coming to the actual best boss item you can get in the game, the Shatterspleen is on the tippity top of most tier lists for Risk of Rain 2 items and let me read you the benefits of this absolute behemoth.
So, it starts once you get a critical hit, which procs bleed on your enemy for 240% base damage. Bleeding enemies then explode on death for 400% damage (with an additional 400% per stack), and finally 15% of their maximum health, with 15% added per stack.
Combined with the fact that each of your crit shots will re-proc bleed, and you can imagine the kind of mayhem that can be introduced to the mix here.
38. Charged Perforator
A 10% chance for 500% damage, with each stack adding 500% on top of that damage seems pretty decent until you add the stacks and the 57 Leaf Clover to the mix, which takes this item to unprecedented levels of damage pretty quickly.
Risk of Rain 2 Lunar Items
39. Beads of Fealty

Even though the description is incredibly vague, to the point of not hinting at what this item does, Beads of Fealty allow you to earn 15 Lunar coins.
Upon obliterating yourself at the Celestial Obelisk, you get the opportunity to fight one of the Lunar Scavenger bosses at random, and upon defeat, they drop thrice the number of Lunar coins than usual.
Do keep in mind that if you do not manage to defeat them and die instead, you get nothing for your troubles.
40. Focused Convergence

This item is a tricky one. The extra charge time reduction to teleporter activation is helpful, which stacks, but the huge size reduction means that after enough stacks you just cannot move away from the teleporter zone.
Our advice would be to just keep one stack to have the 30% buff active at all times.
41. Gesture of the Drowned

There is simply no item like Gesture of the Drowned. For starters, the Equipment cooldown reduction is significant, and you are going to feel it in your runs, but the offset to a 50% (+15% per stack) cooldown reduction is that your Equipment gets launched on its own.
Auto activation is something you’ll be fine with if you know how to target, which makes Gesture of the Drowned one of the absolute best in the game.
42. Essence of Heresy

One of the items that unlocks the Heretic secret character in the game, Essence of Heresy replaces your Special with Ruin, which is one of the highest damage Specials in the game.
Dealing damage with Ruin involves adding a stack of Ruin for 10 seconds (+10 per stack).
Once you think you have enough stacks, activate all of them to deal 300% damage at infinite range, plus 120% more per stack of Ruin that you have stored.
43. Hooks of Heresy
Similar to Essence, Hooks replace an ability, this time your Secondary with the Slicing Maelstrom.
Slicing Maelstrom is an ability that has you charge up a projectile to deal 175% damage per second to nearby enemies, exploding after 3 to deal an additional 700%, and applying the root debuff for 3 seconds (increasing per stack).
Conclusion
The right Risk of Rain 2 items can absolutely make or break your run.
Some might be favorable to specific and unique Risk of Rain 2 characters or work within a few doctored scenarios, but the flat buffs you get from the best ROR2 items in the game can help a seamless and risk-free (get it?) experience.
This guide contains all of the high reward items in the game. Did we miss any? Let us know!
More Risk of Rain 2 Guide:
- Risk of Rain 2 Artificer: Mastering a Misunderstood RoR2 Character
- Risk of Rain 2 Characters, Ranked: Updated Tier List
- Best Risk Of Rain 2 Mods You Should Try Right Now


